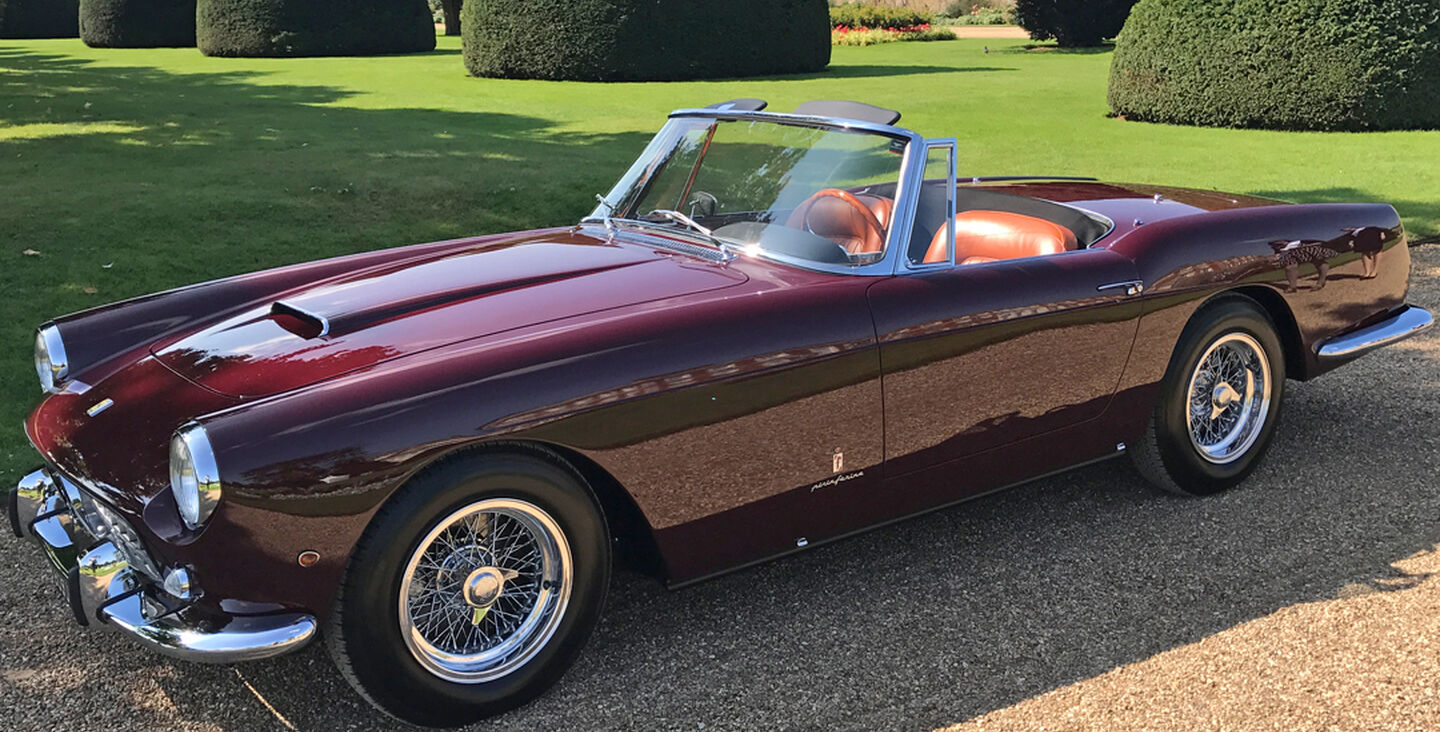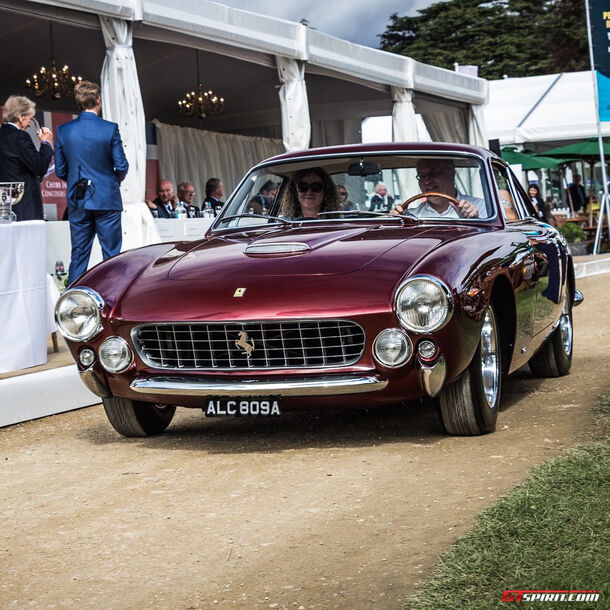
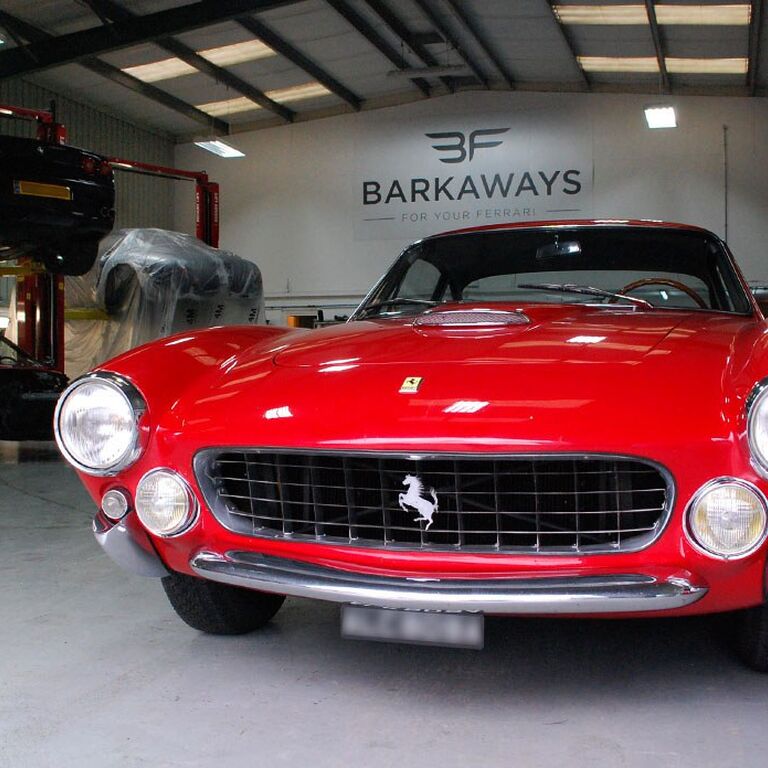
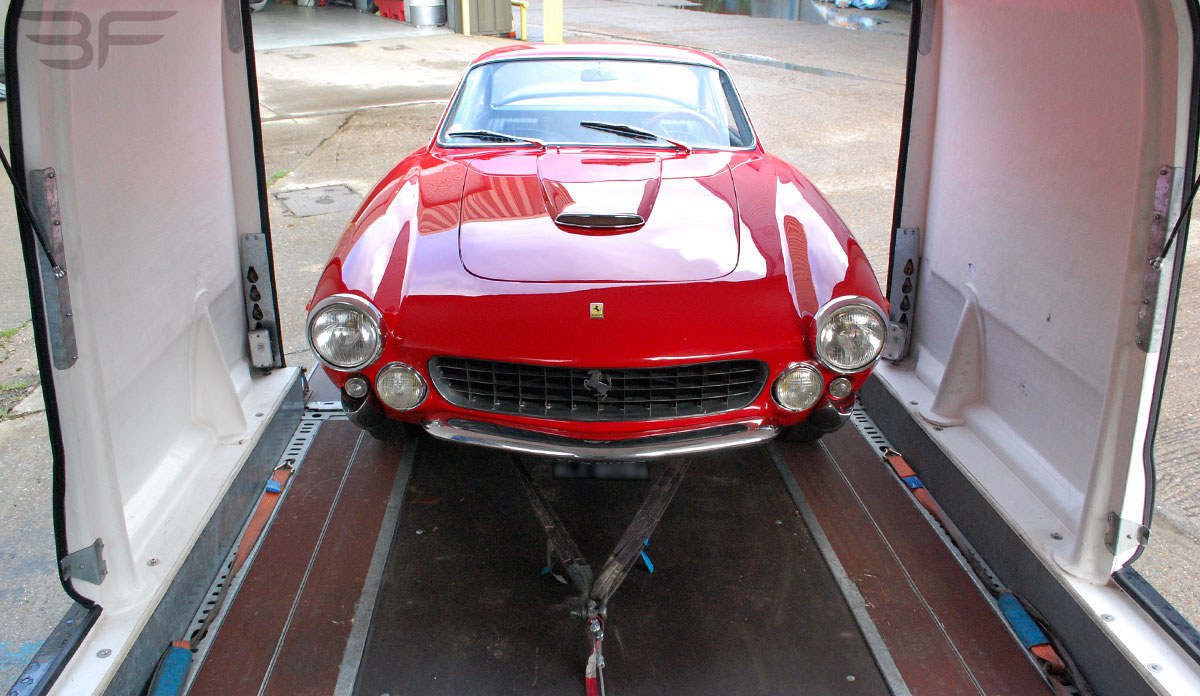
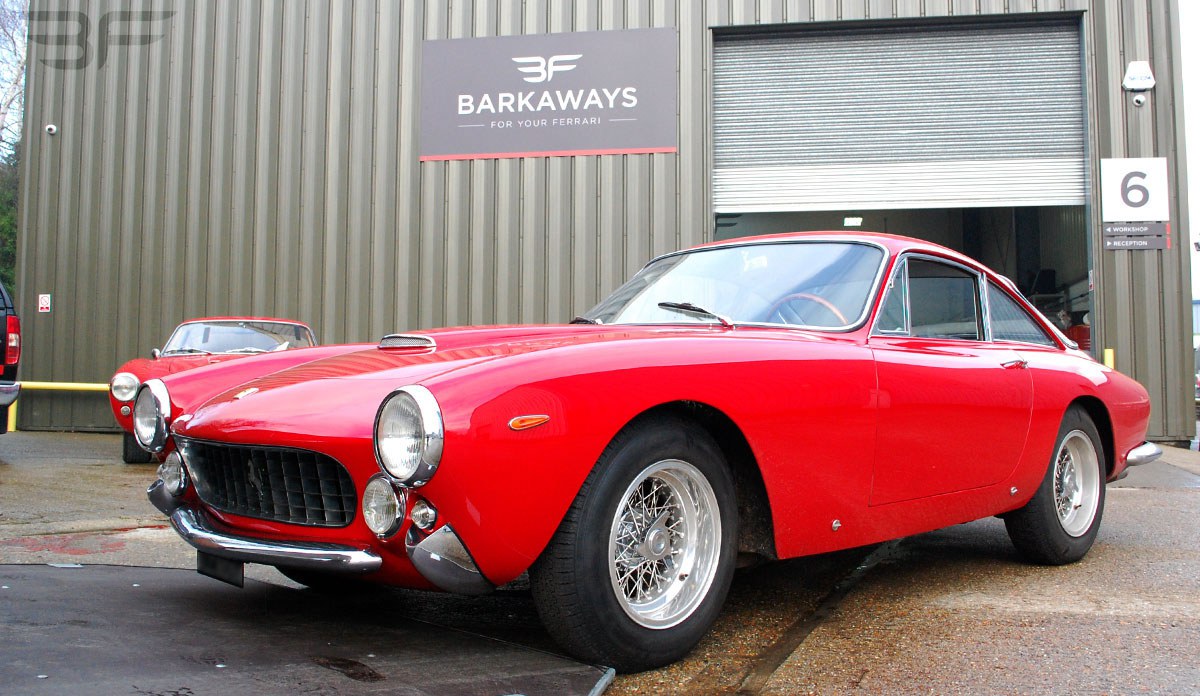
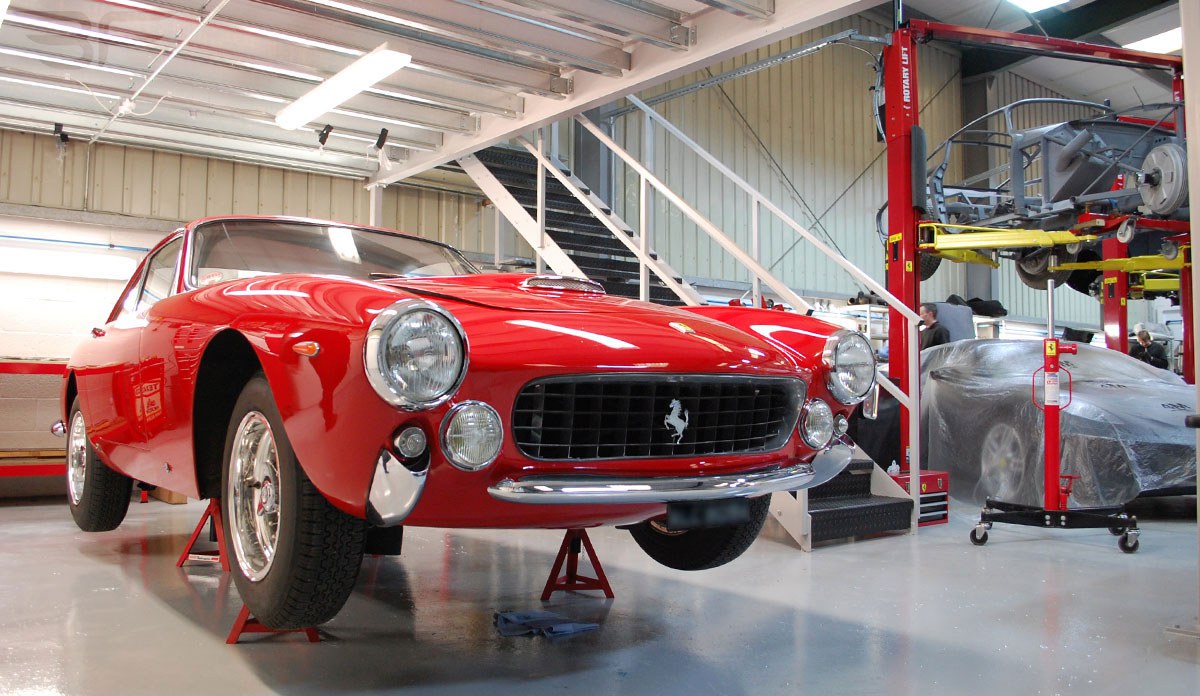
Ferrari 250 GT Lusso (1964)
Following a number of consultations with our client, the decision was made to carry out a full restoration bringing this Ferrari Lusso to a Concours standard.


JANUARY 2014
Following a number of consultations with our client, the decision was made to carry out a full restoration bringing this Ferrari Lusso to a Concours standard.
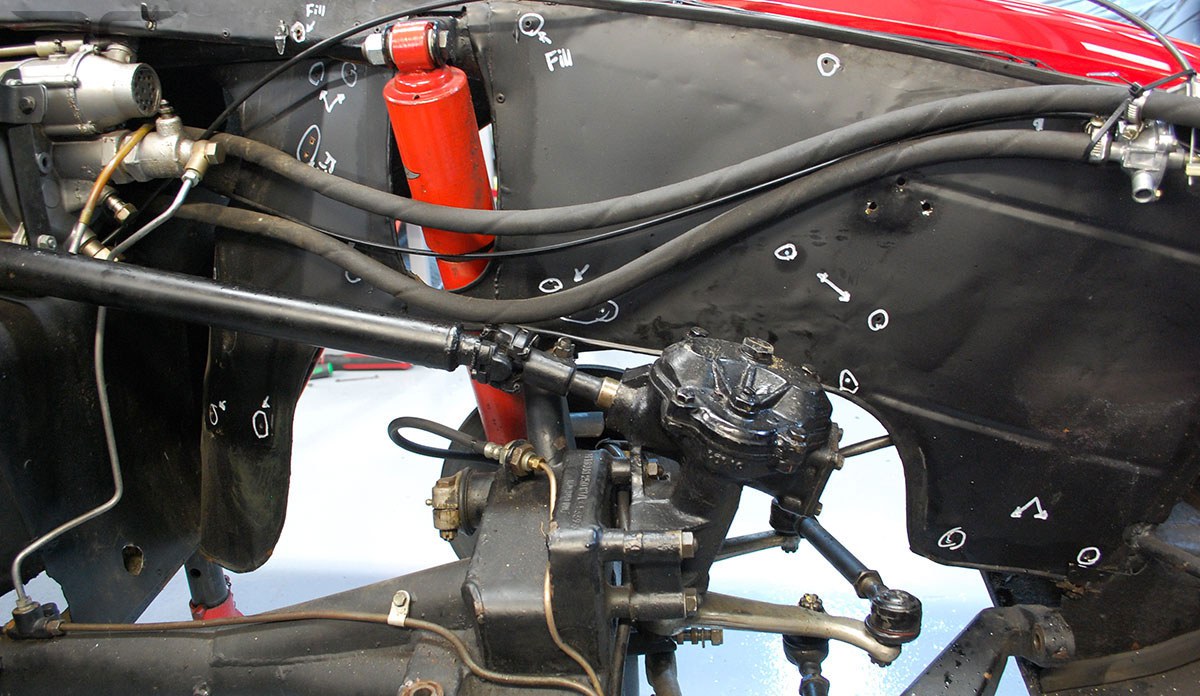
The strip down of the vehicle started with the removal of the exhaust system, rear axle, front anti-roll bar and the prop shaft. The fuel tank was completely drained along with the differential, engine, braking and coolant system to ensure no fluids were left in the vehicle.
All brake pipes were removed as were handbrake cables and linkages. All components removed were labelled, catalogued and safely stored to ensure ease of fitment at the point of rebuild. Existing corrosion on the handbrake components, clutch pedal and the brake pedal were removed and cleaned.
The fuel pump and pedal box were removed and stripped before being cleaned. Individual fuel pump components were cleaned and condition checked. The pedal box was stripped and all original paint removed.
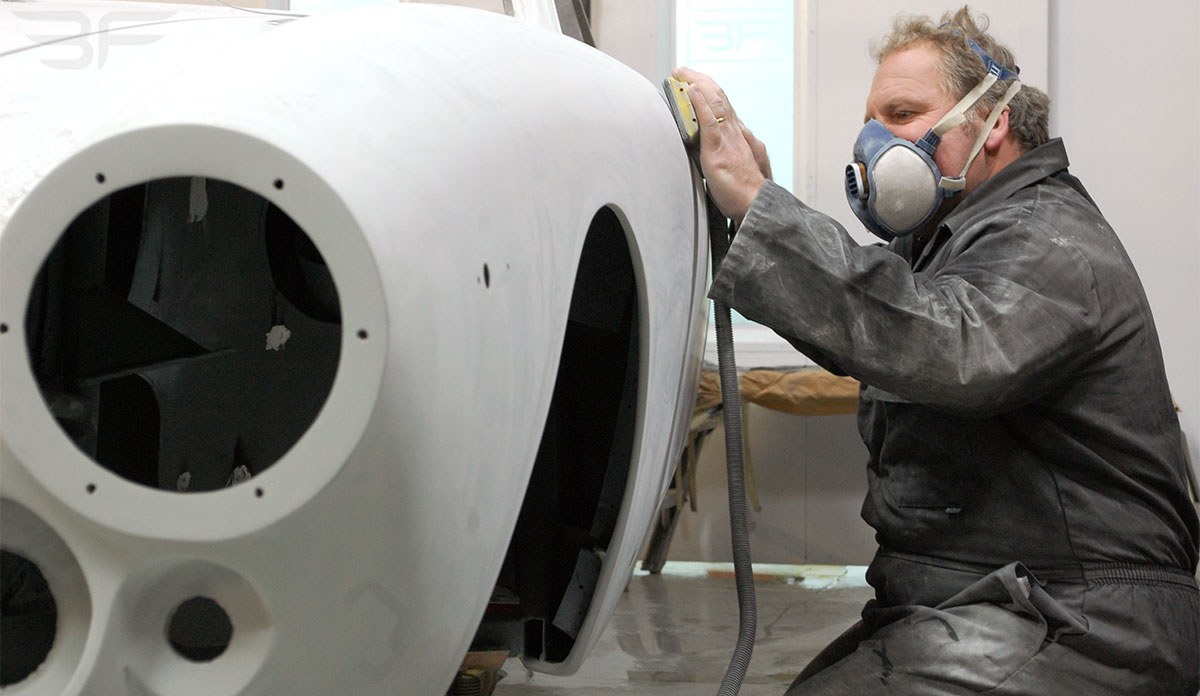
The offside fan ducting was found to be damaged and therefore dressed and reshaped to ensure this was ready for the rebuild stage of the project.
Components such as the fan housings, mesh covers and the petrol filler neck were all stripped. The throttle pedal and connecting arms were also cleaned.
FEBRUARY 2014
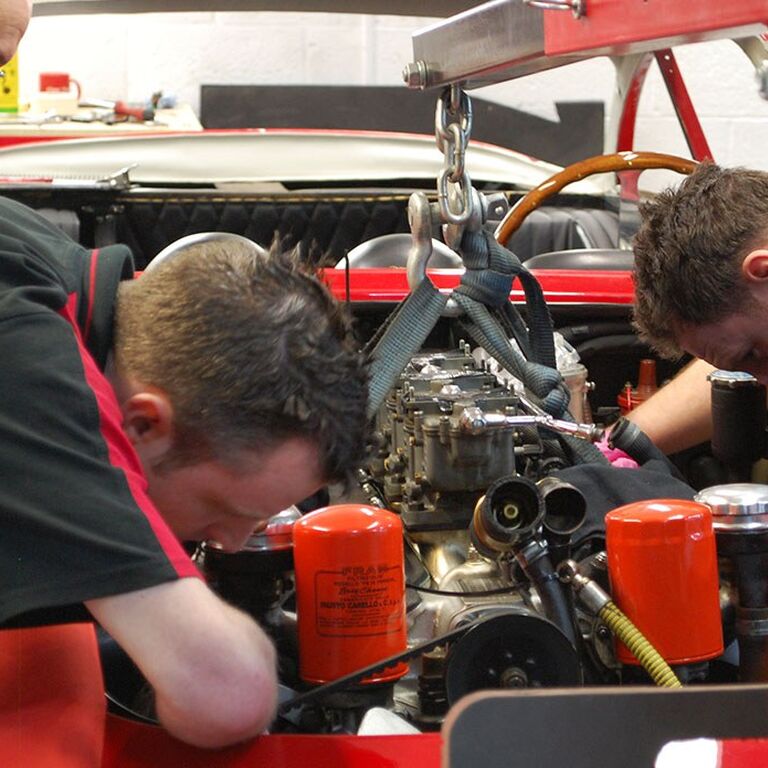
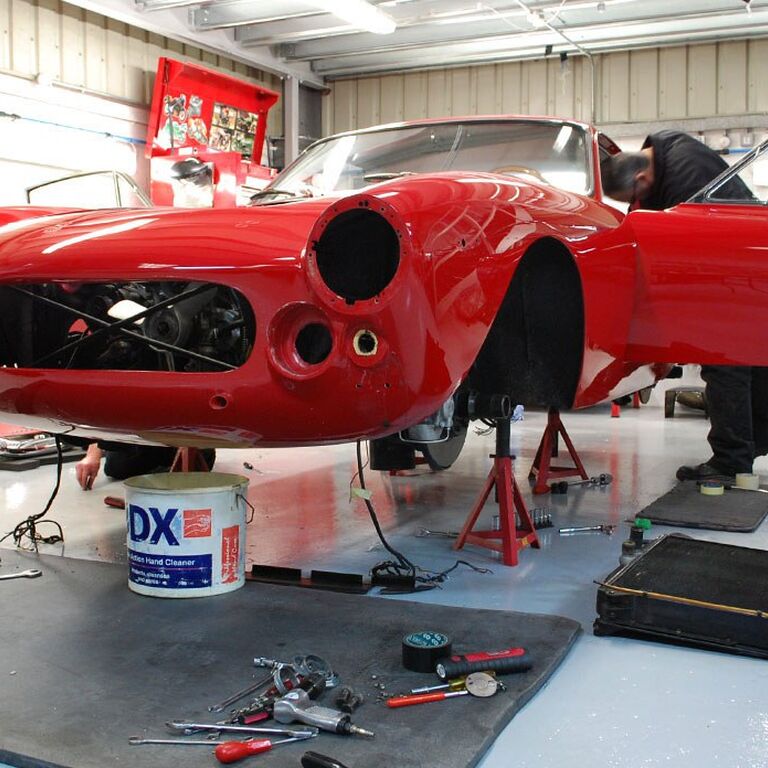
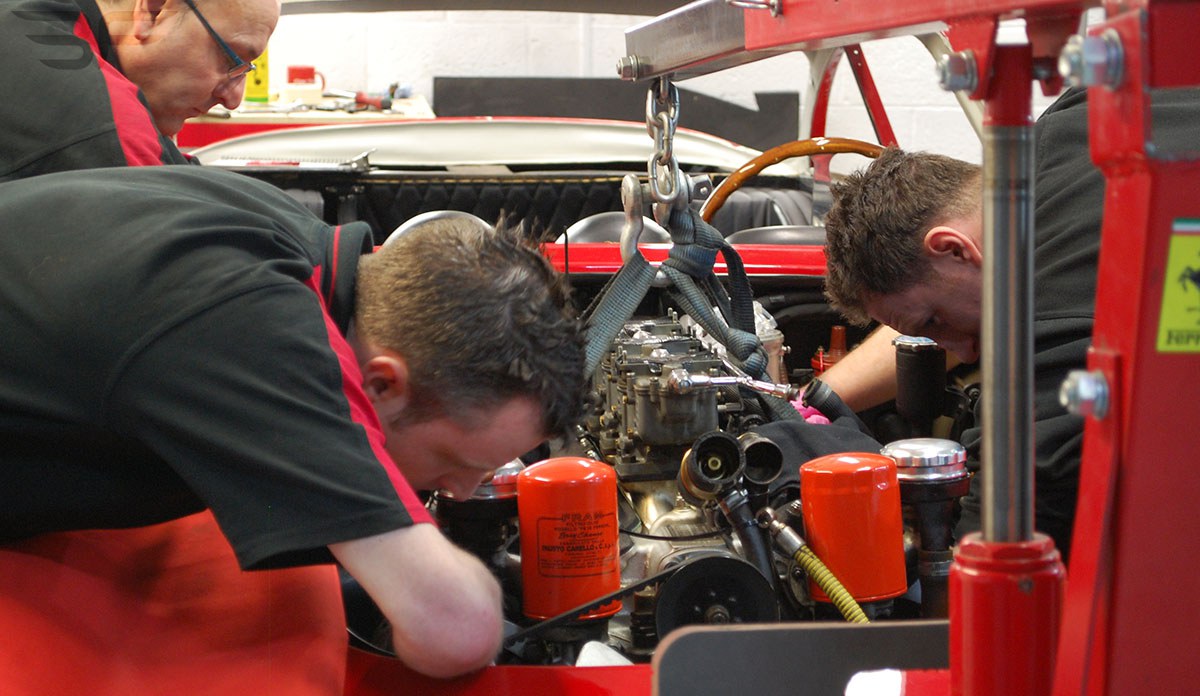
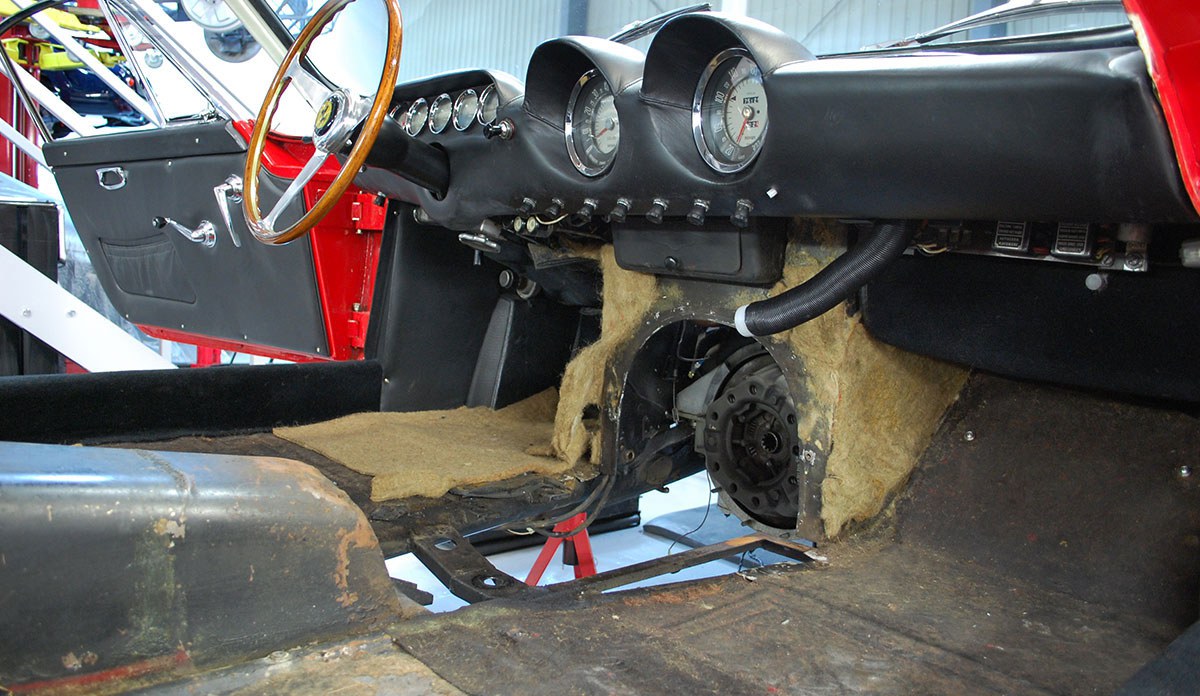
The project continued in February with the remaining engine axillary components being removed before strapping and lifting the engine.
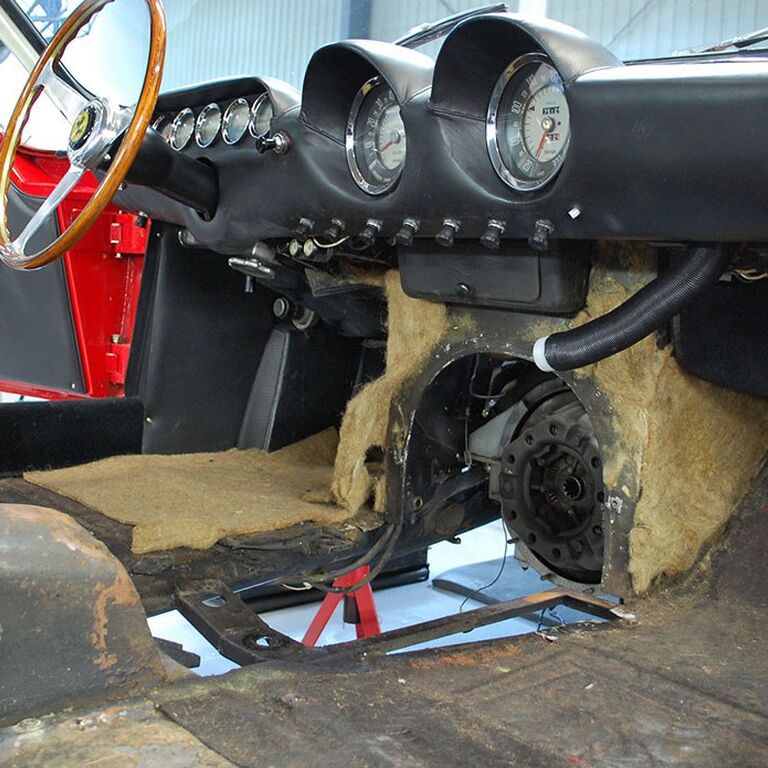
Other components removed included brake calipers, chrome bumpers and front and rear lights. Interior trim, steering wheel, dash, steering column, seat belts and seats were also removed and both doors completely stripped so all parts could be catalogued.
Offside and nearside quarter light windows were also removed.
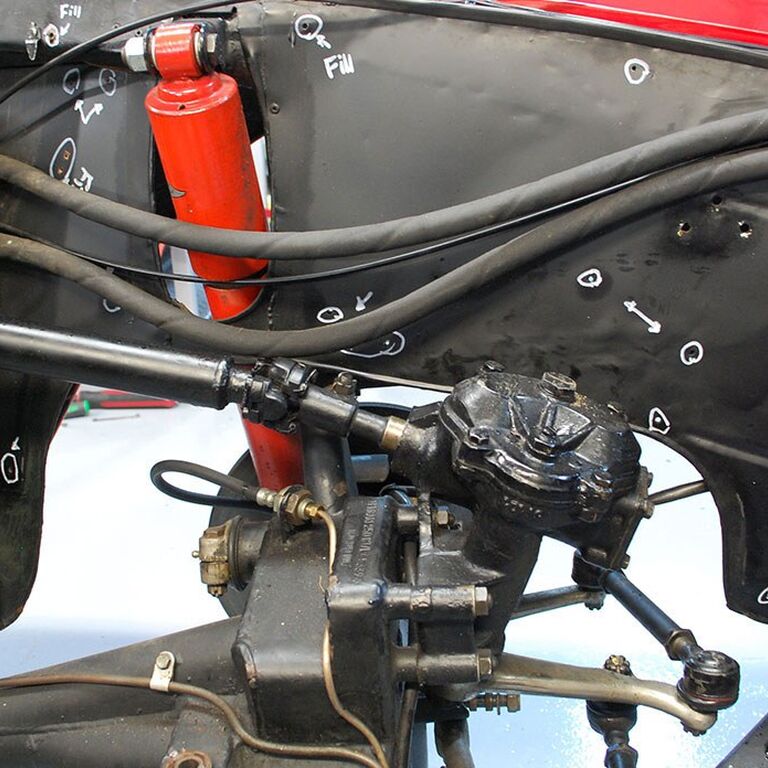
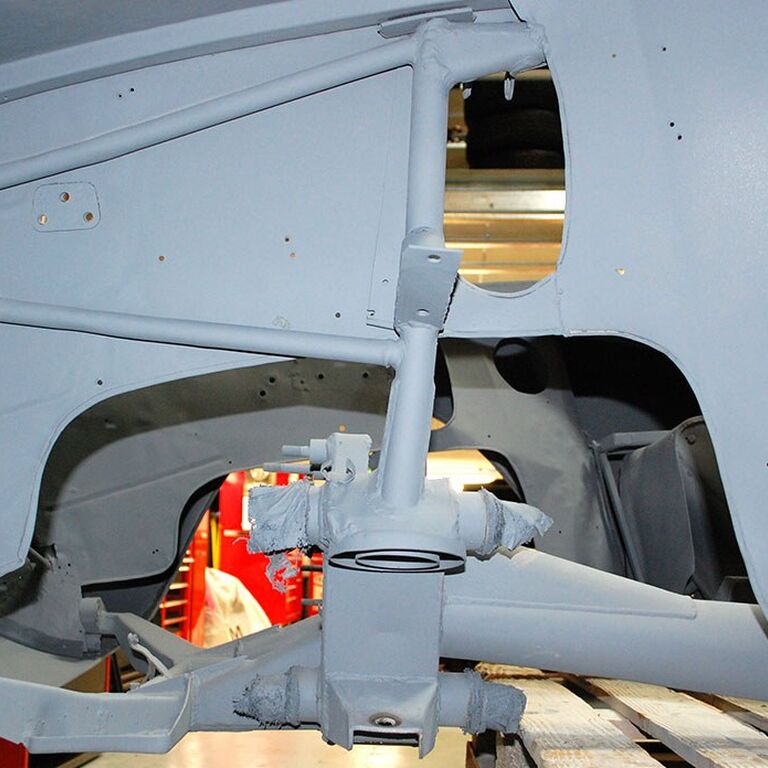
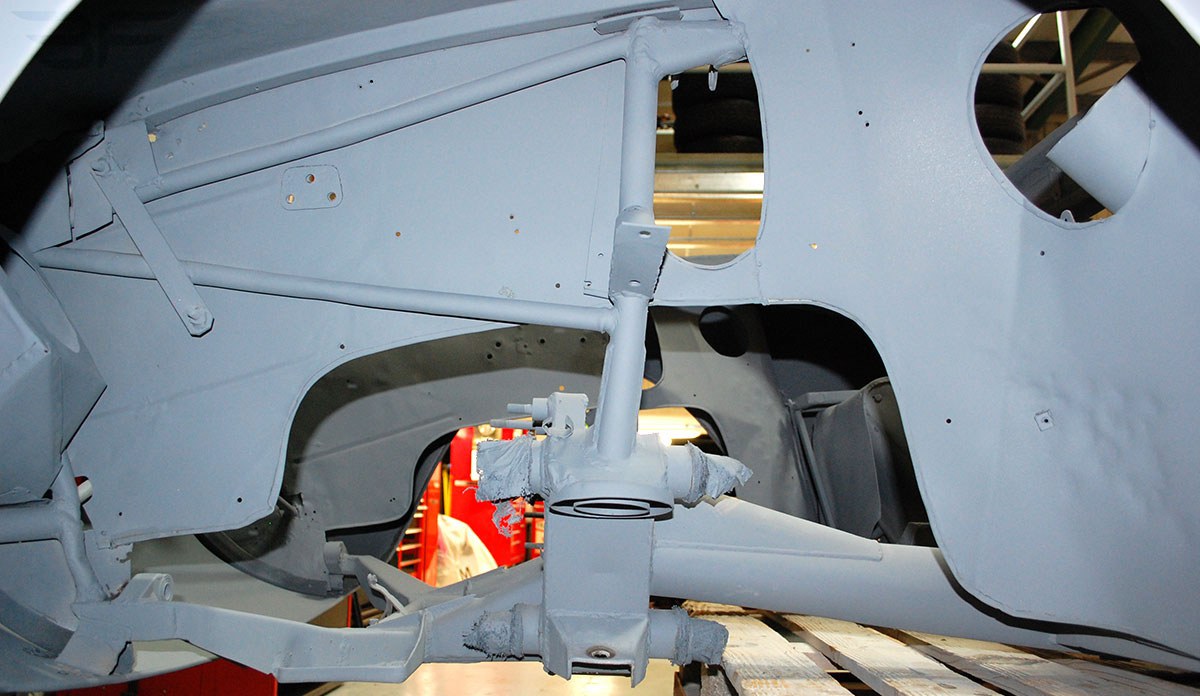
With the engine removed the wiring loom was labelled before being completely removed. Front suspension and steering assembly were removed ready for refurbishment. Radiator and heat matrix were stripped and packaged ready for specialist re-core and overhaul.
All switches and gauges were removed from the dash ready for specialist overhaul and refurbishment.
Suspension shock absorbers were completely stripped enabling components to be cleaned and refurbished ready for refitting. Front hubs were also stripped, removing the brake discs and hub bearings.
The steering column and controls were stripped. With indicator stalk removed it was cleaned, polished and all electrical connections checked.
Components requiring chroming or plating were photographed and catalogued in preparation for being sent to specialist for work to be completed.
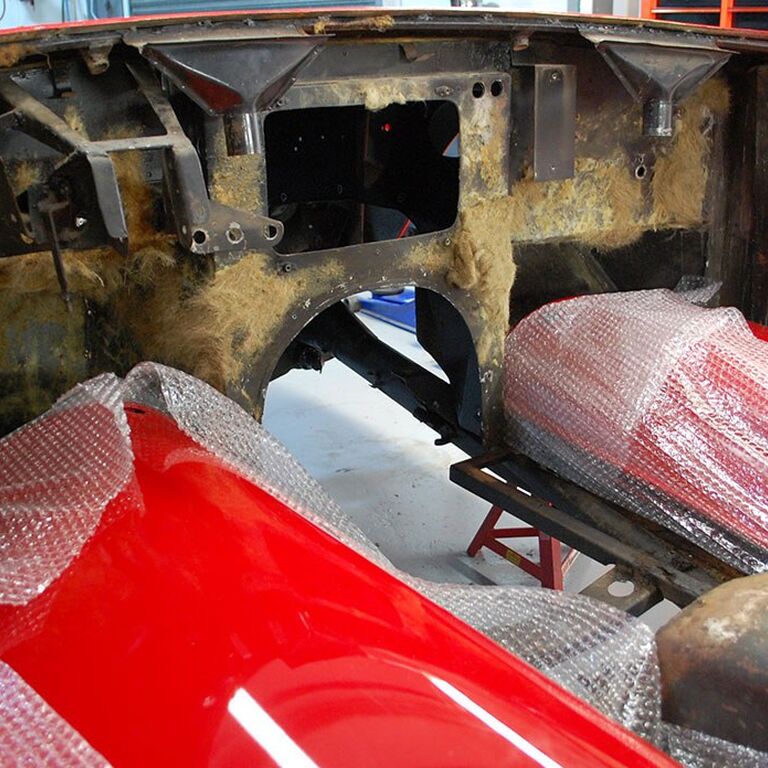
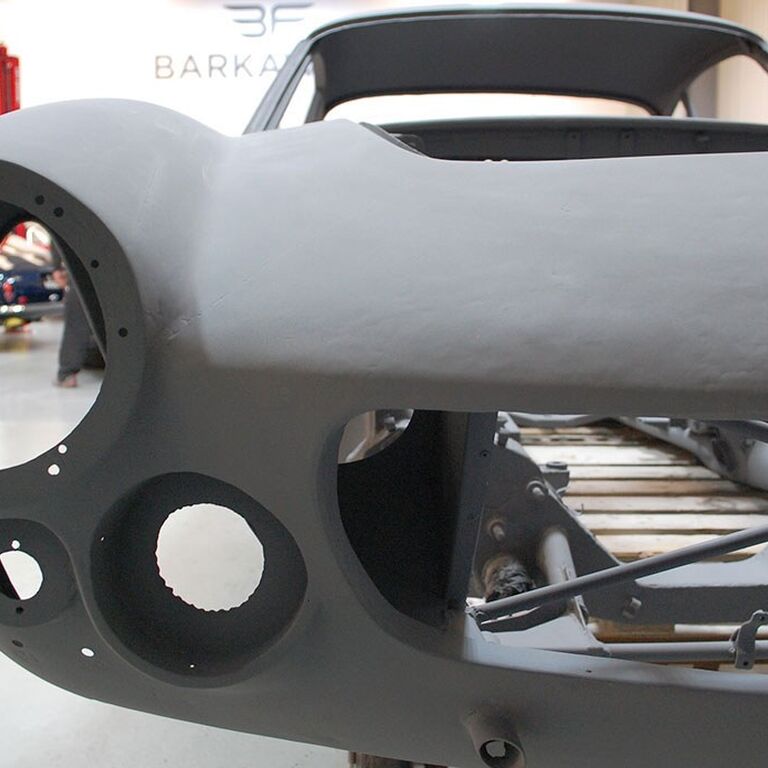
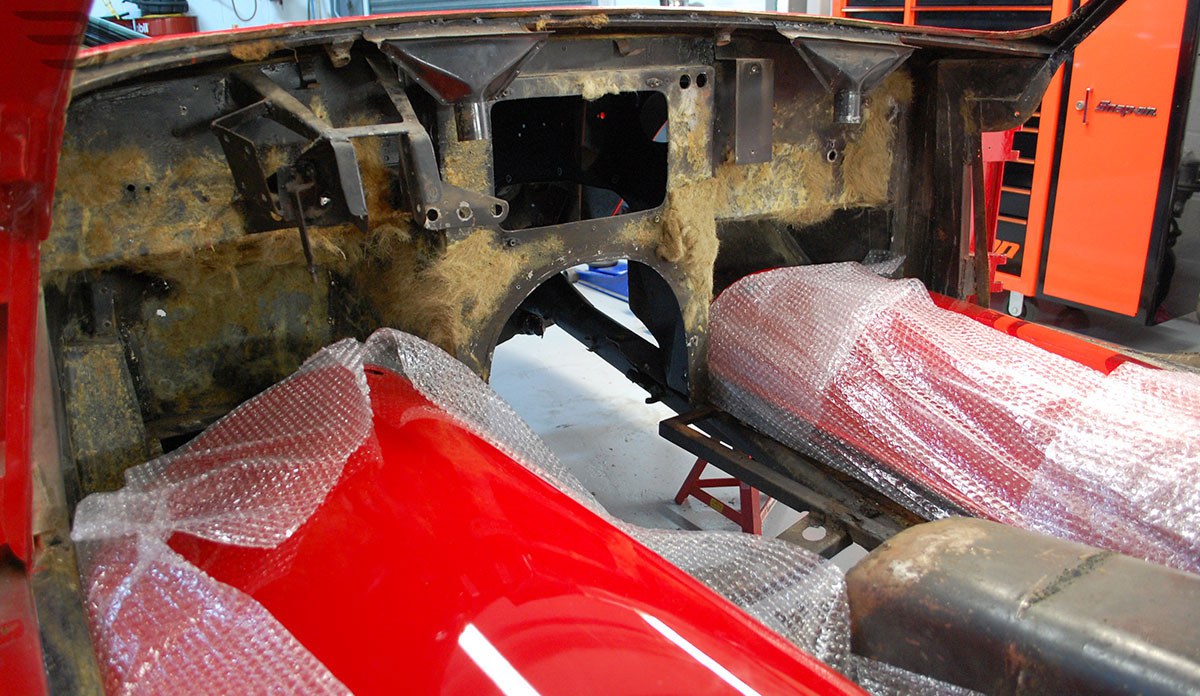
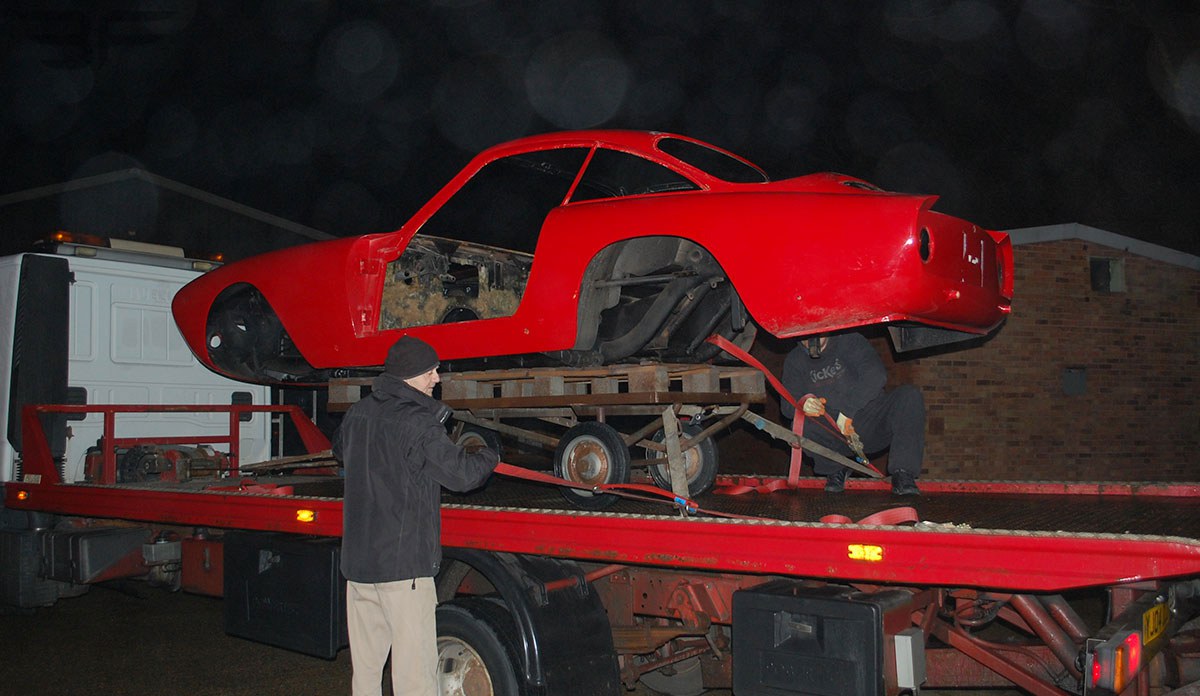
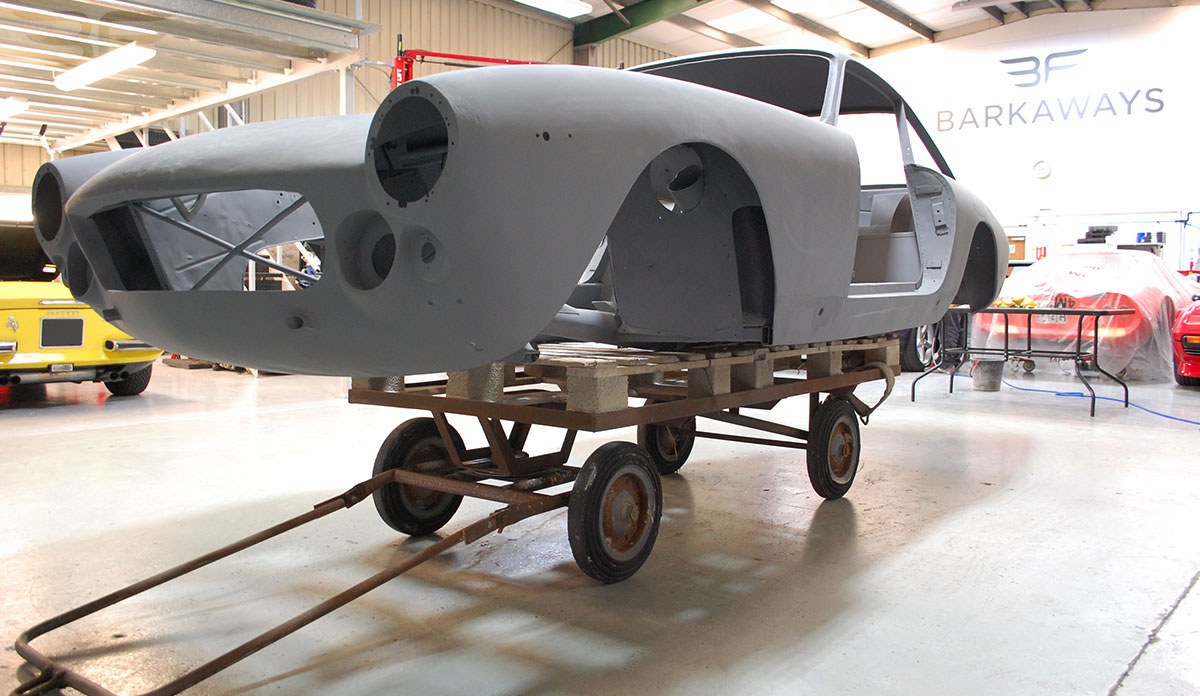
The main body shell was then sent for specialist media blasting to remove paint and allow for a thorough inspection of the vehicle body.
MAY/JUNE 2014
The project continued throughout May and June with further work to the bodywork and refurbishment of mechanical components.
Items such as the front bumper over riders were cleaned, inspected and mounting bracket threads straightened in preparation for specialist plating.
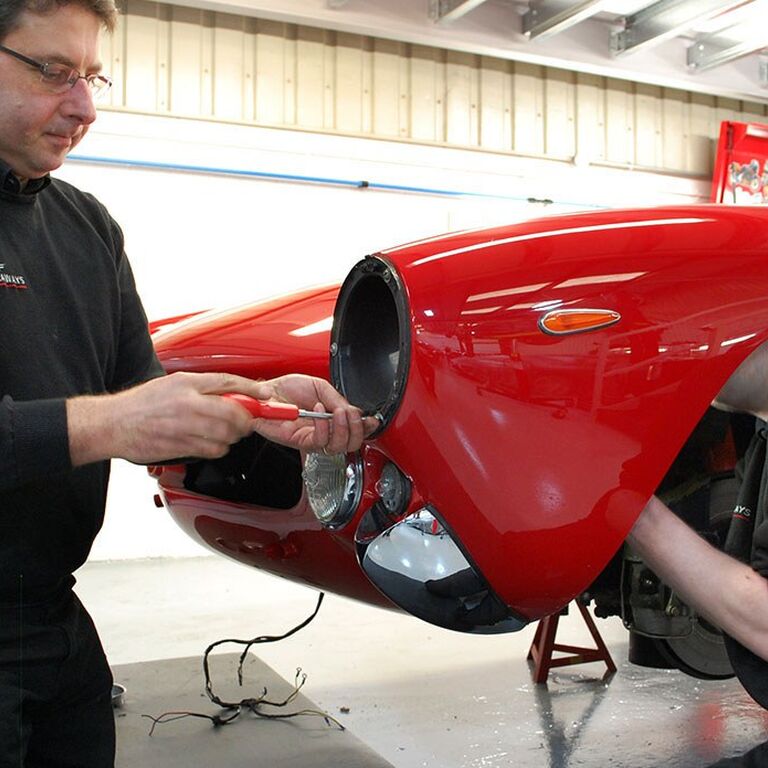
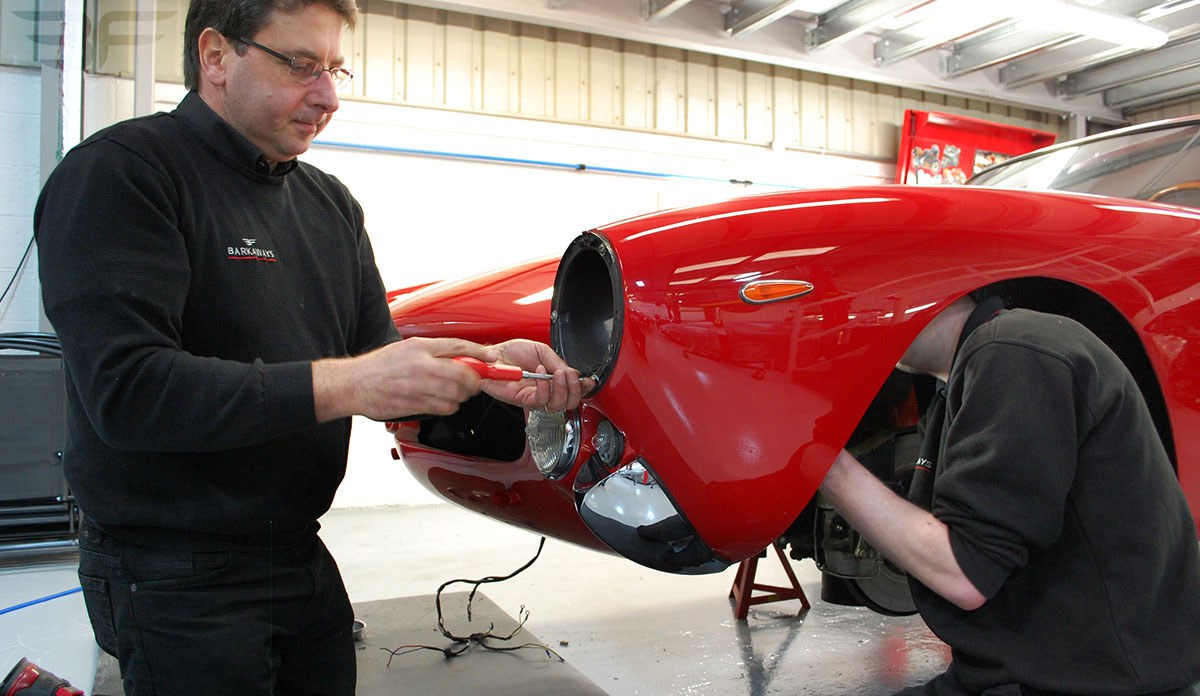
Offside and nearside front and rear lamp units were removed, cleaned and inspected to check suitability. A new offside headlight wiring loom was required.
The handbrake mechanism was stripped down, dressed and reshaped.
Brass pins from both the offside and nearside rear quarter light windows were drilled out and necessary repairs carried out.
Components such as the boot lock, radiator, washer bottle and motor were stripped down and all components sorted for overhaul, repair and specialist plating.
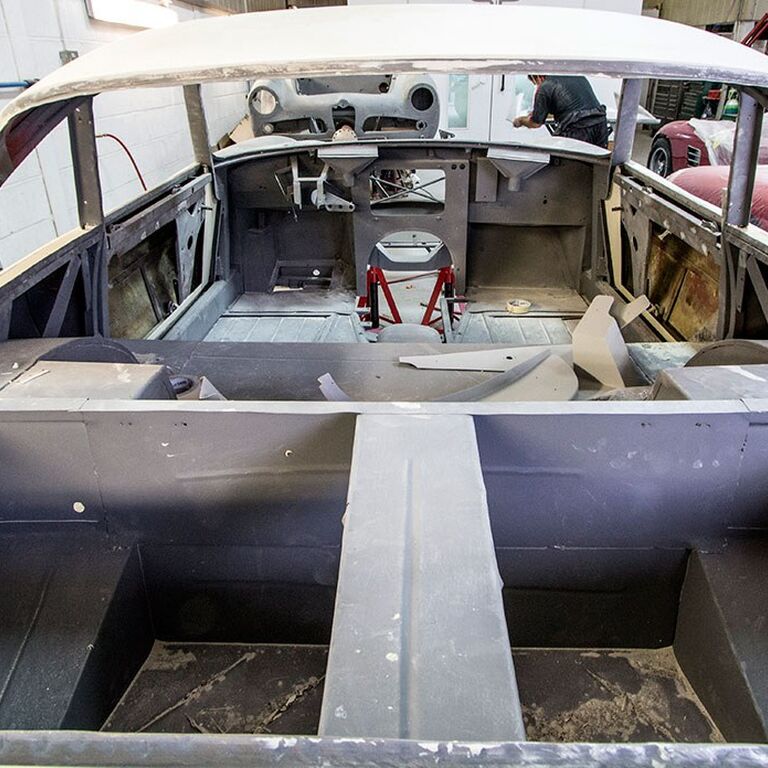
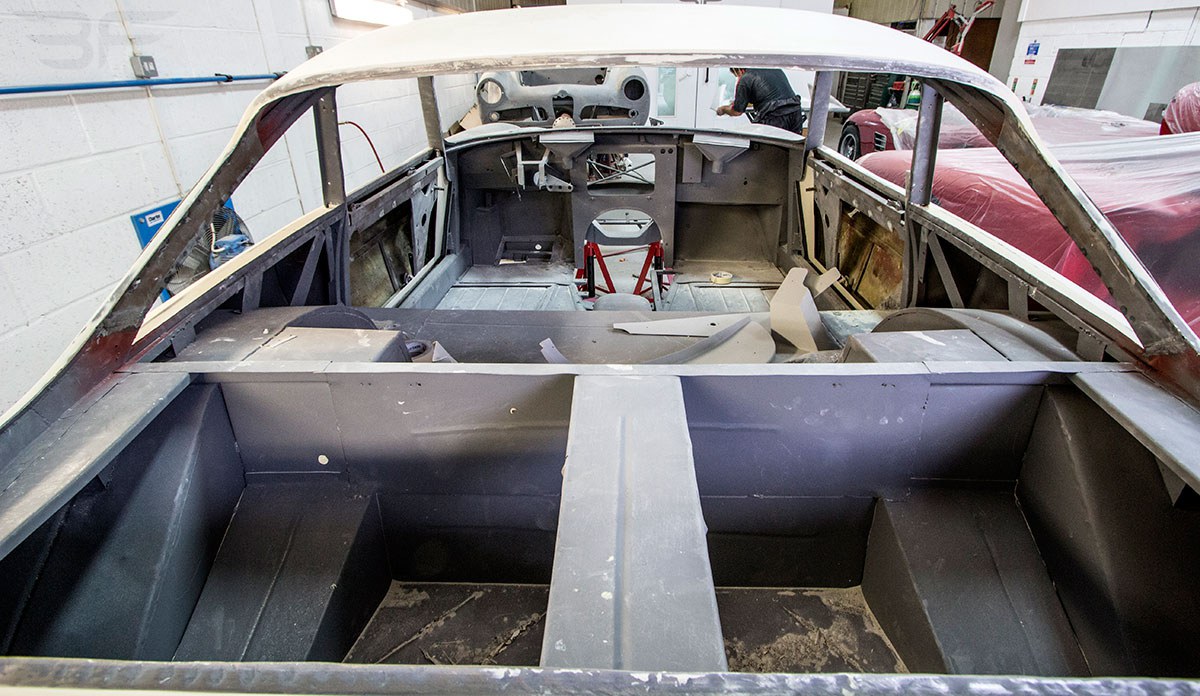
Following the media blasting of the vehicle shell the body was mounted onto axle stands and the floor pans carefully cut out. An inspection was made on another Ferrari Lusso which had been through Ferrari Classiche to check originality of floor pans before fabricating new from the pattern. With necessary repairs carried out work began on levelling the vehicle bodywork and gapping panels to ensure the required finish was achieved. A trial fit was carried out to both the nearside and offside doors with locks and catches to check fitment and gapping before carrying out required levelling work.
JULY 2014
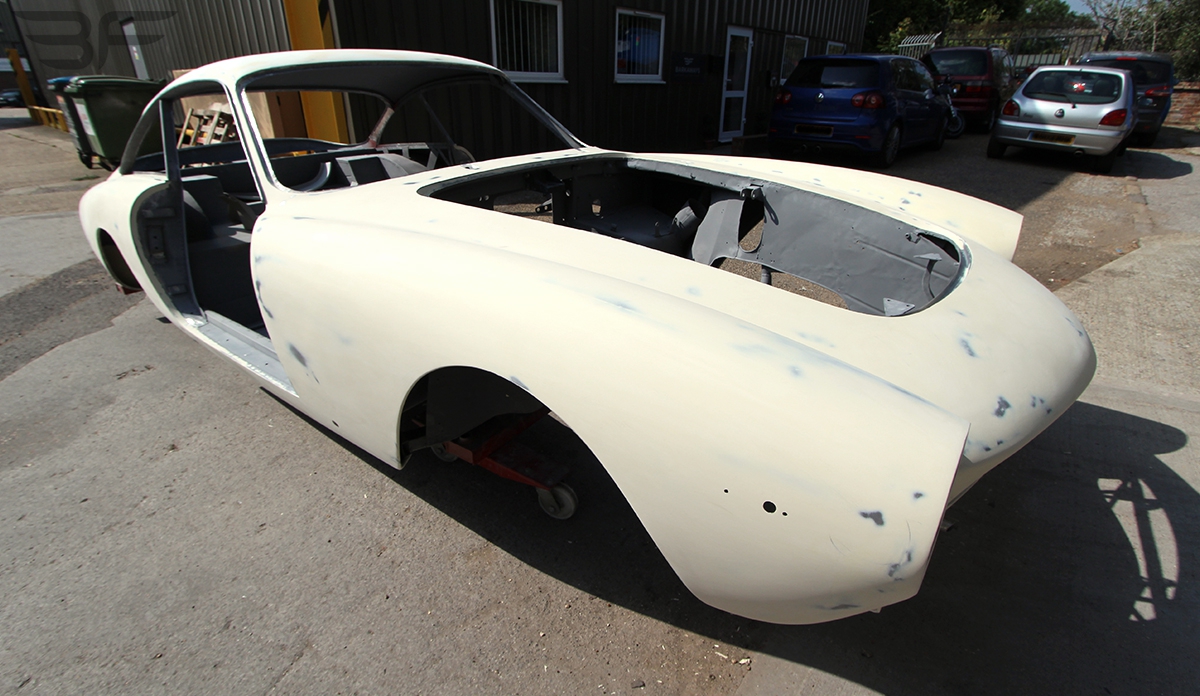
The restoration project continued in July with further levelling works to the vehicle body - offside rear wing, rear top panel, rear lower valance, bonnet and adjacent panels.
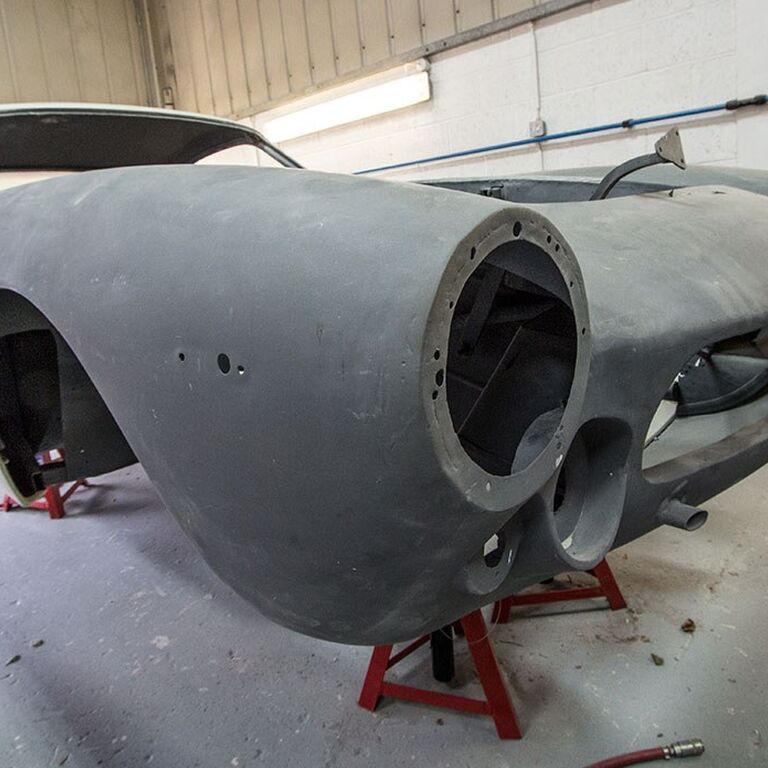
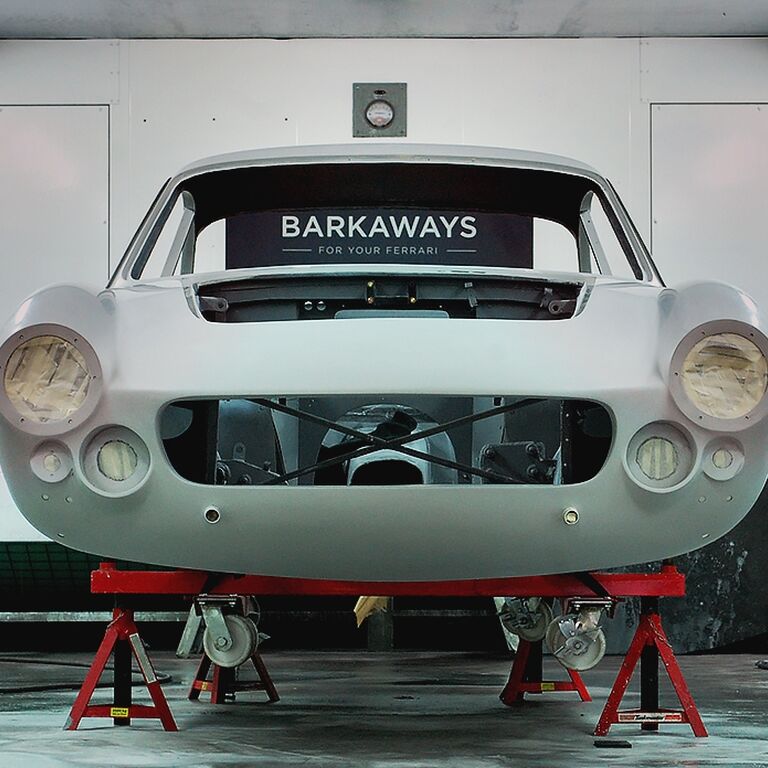
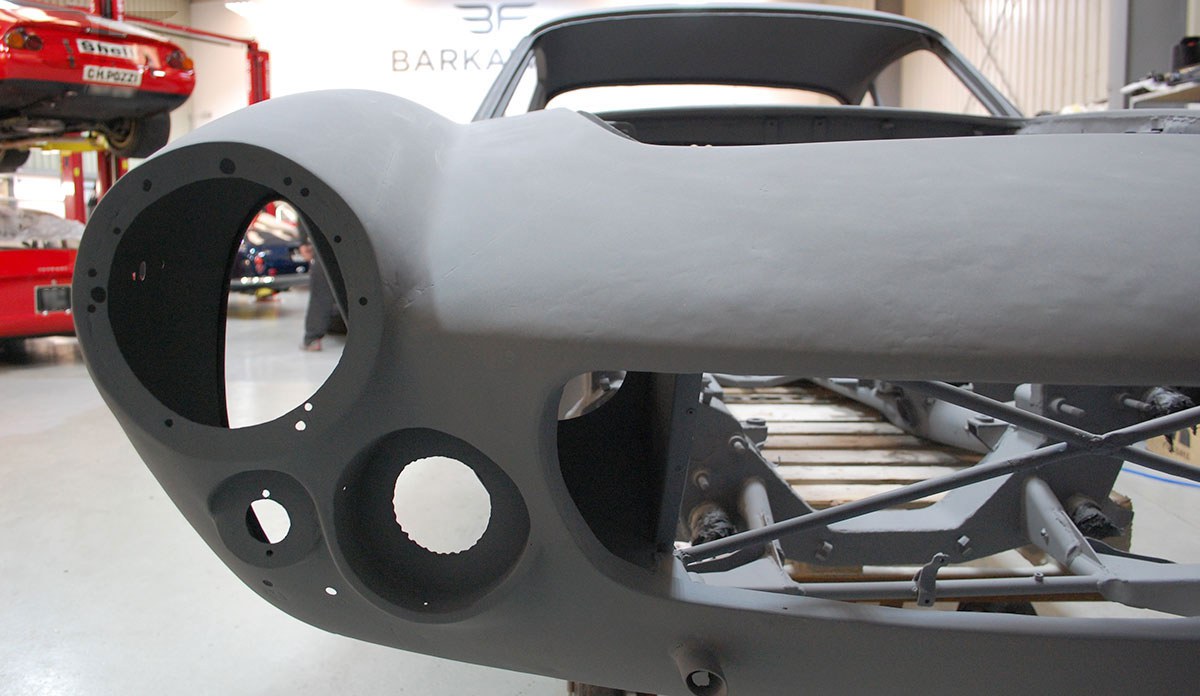
With necessary welding and repairs carried out to the front lamp holes and nearside front wing the front nose panel was reshaped and levelling work carried out to front wings and scuttle panel.
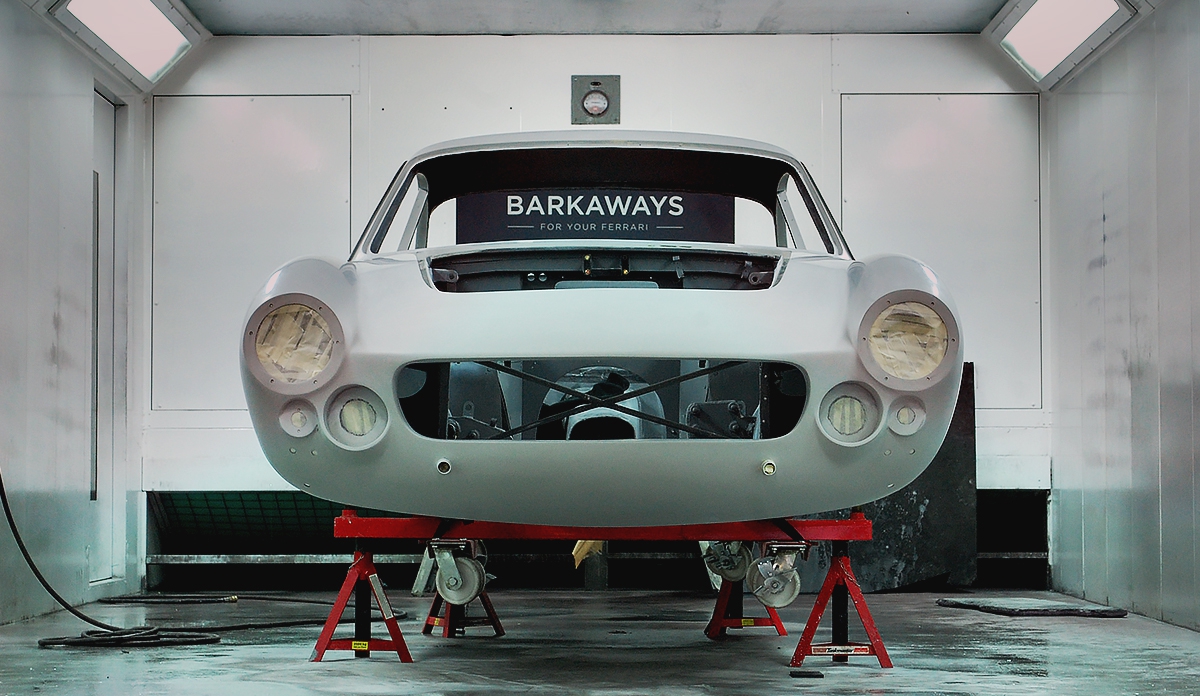
Front bonnet mountings were cut and re-welded to improve the fit of the bonnet. A trial fit of the front bumper and grill was carried out and modifications made to ensure correct fit.
SEPTEMBER 2014
Throughout September work continued with the overhaul and refurbishment of vehicle components. Where necessary, parts were modified or fabricated to ensure correct cosmetic appearance, fit and operation were achieved.
Further dry fitting of components such as front headlamp rings, spot lamp surrounds and front bumper over-riders to ensure any adjustments that needed to be made were carried out prior to primer and paint being applied.
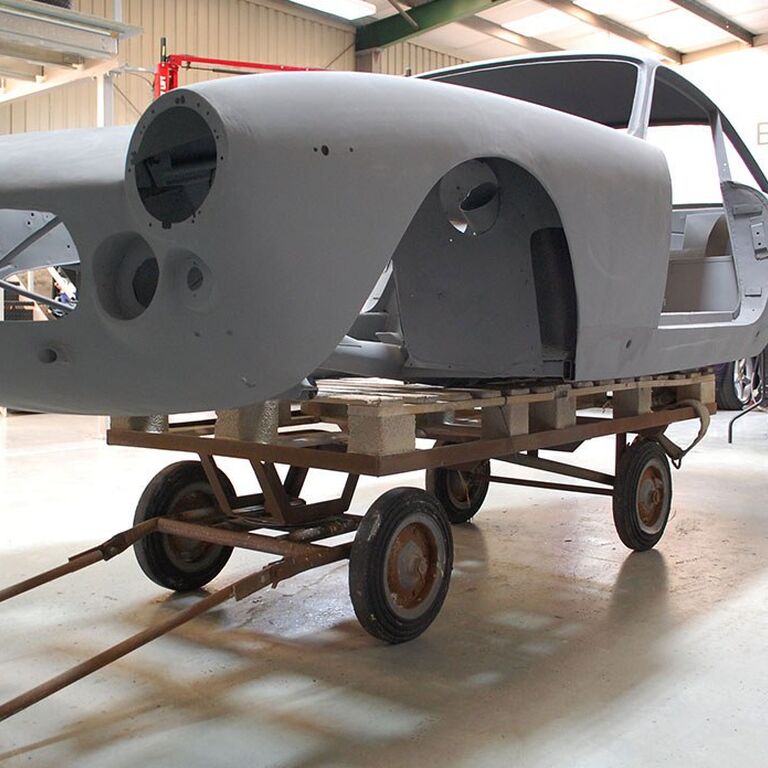
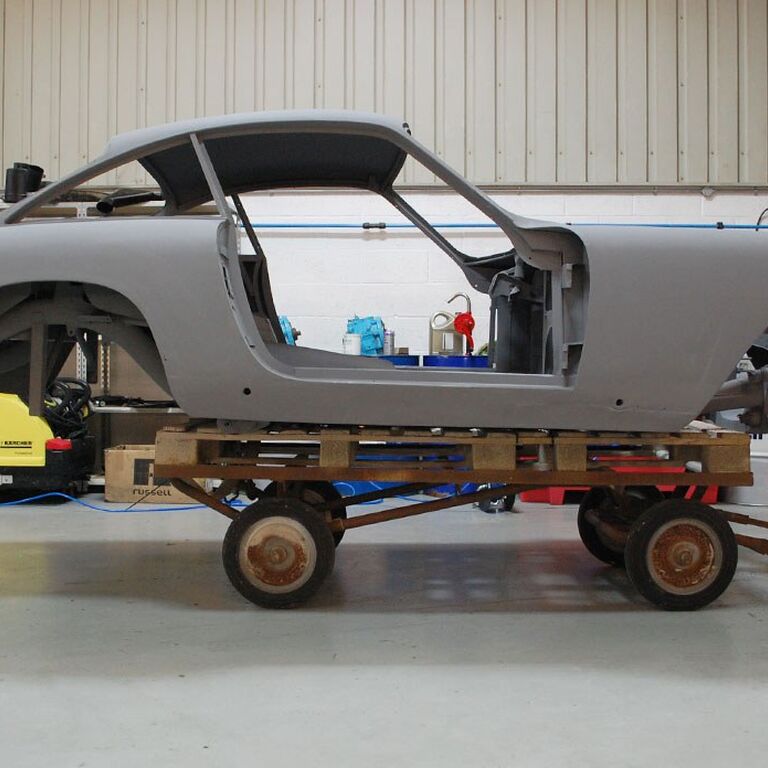
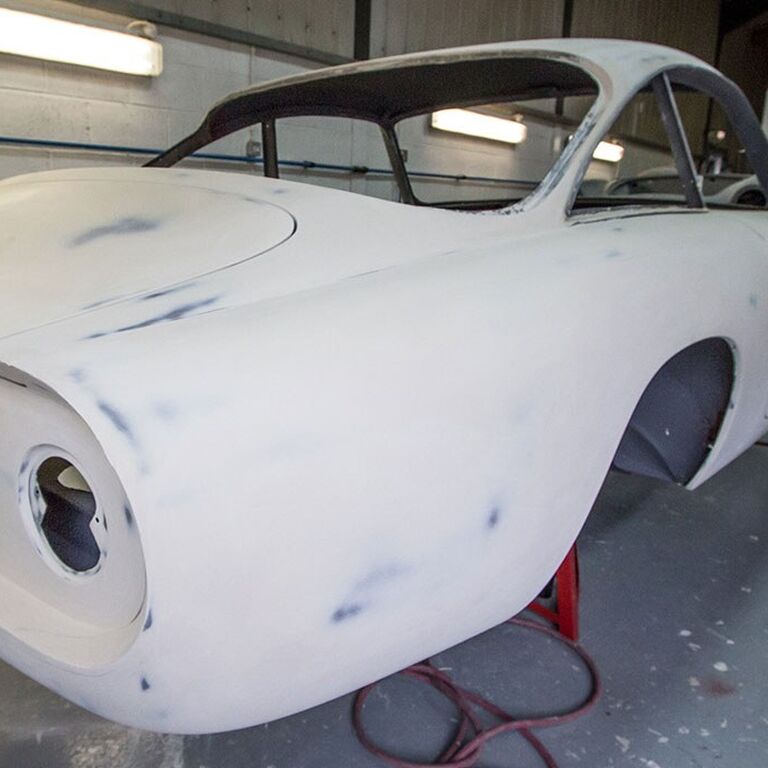
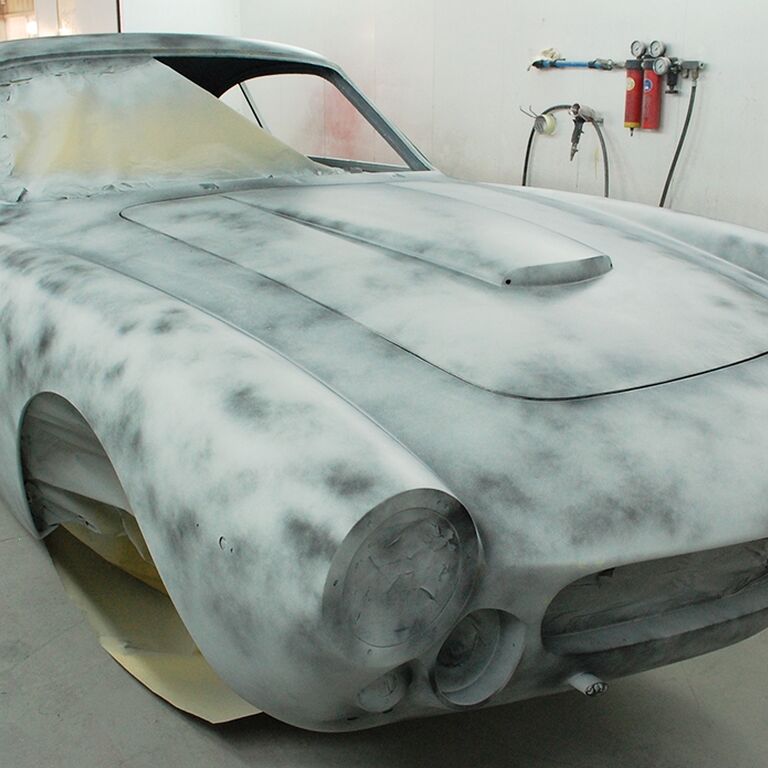
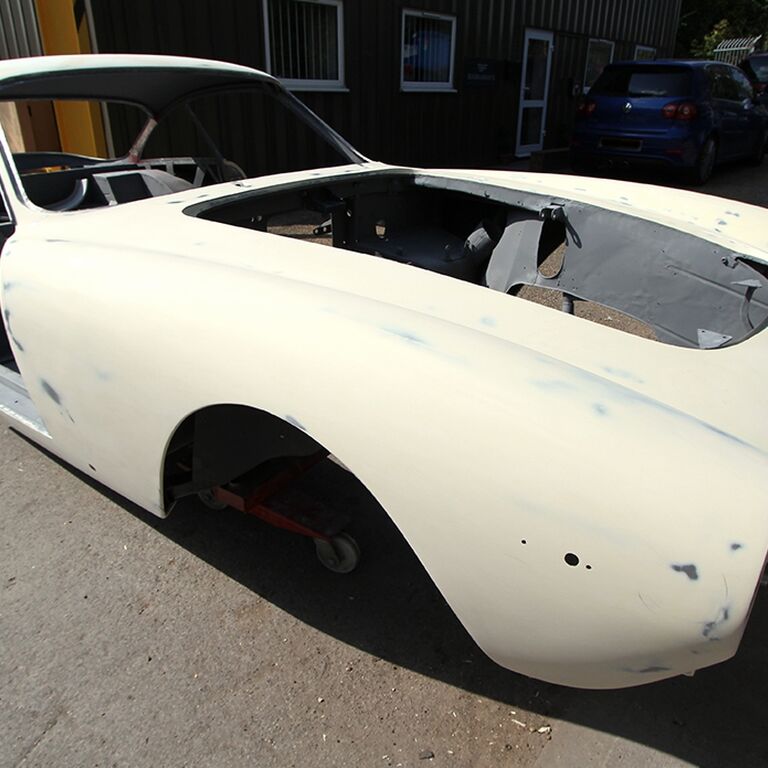
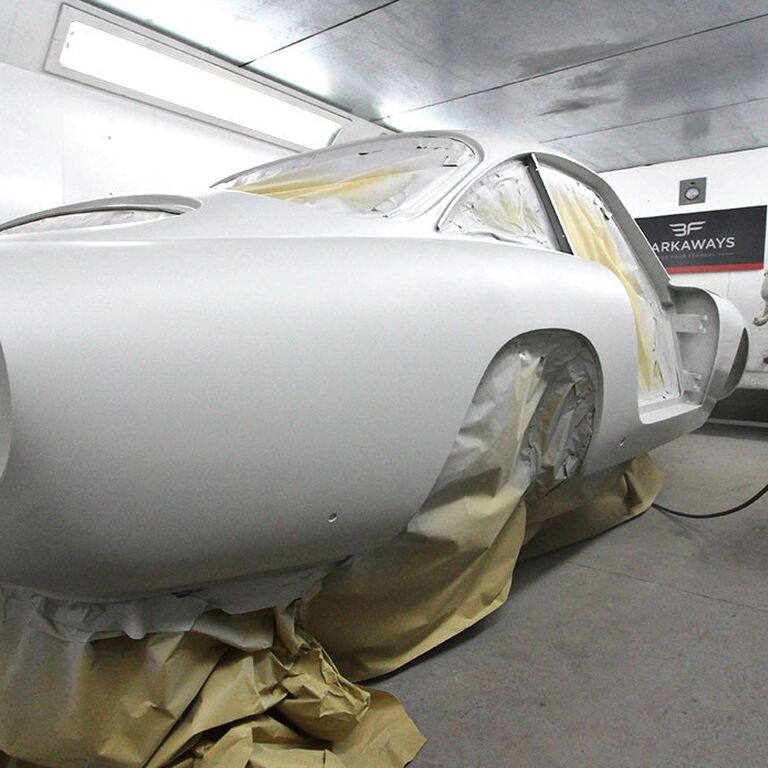
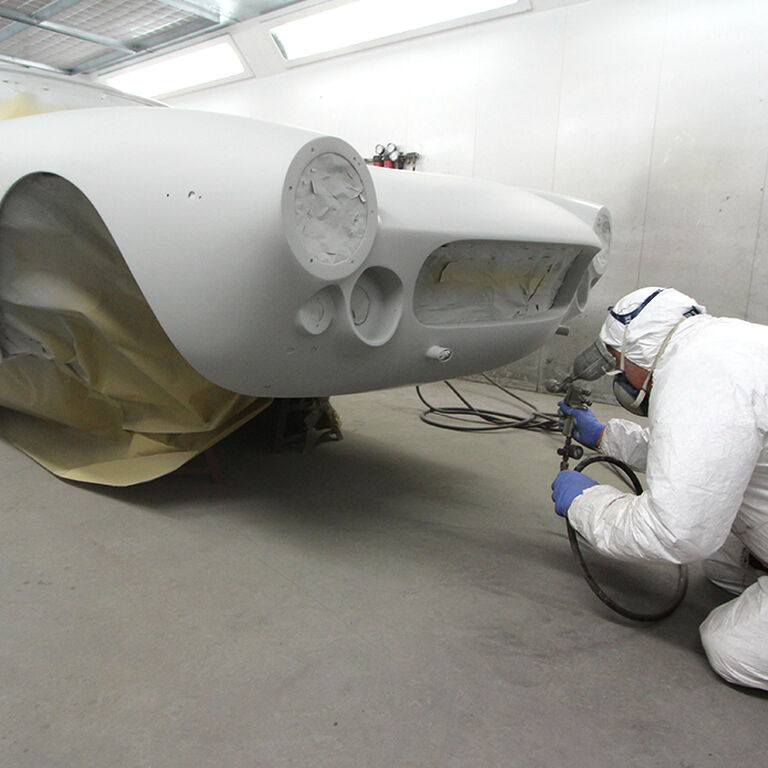
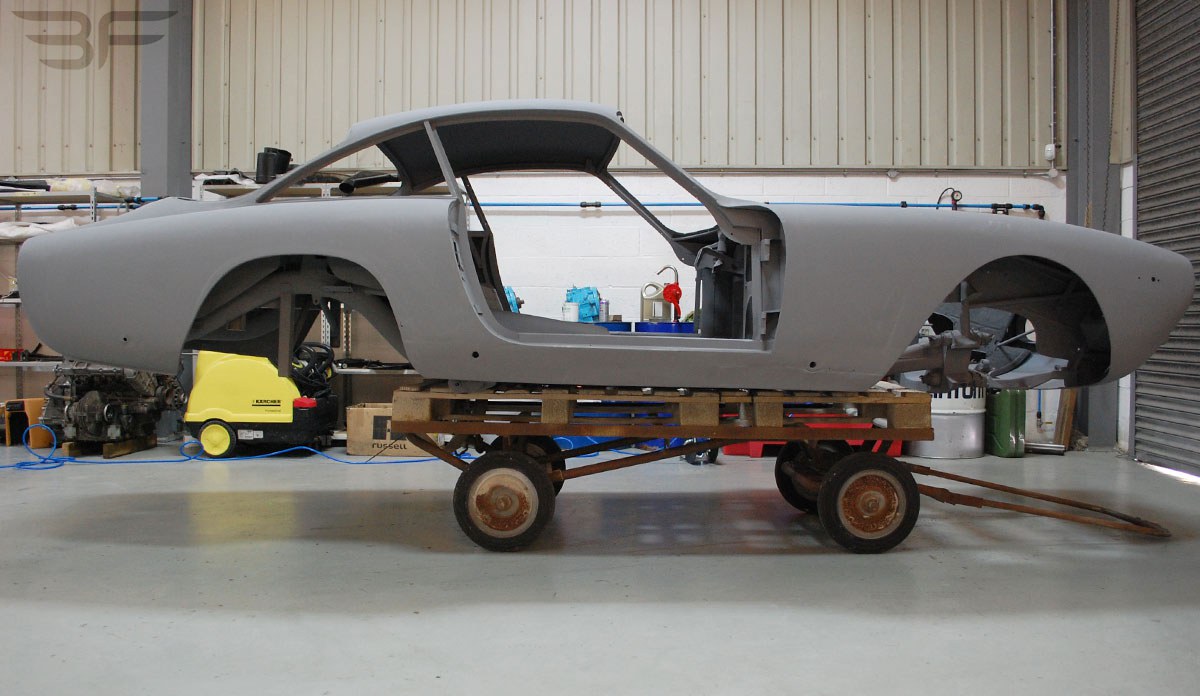
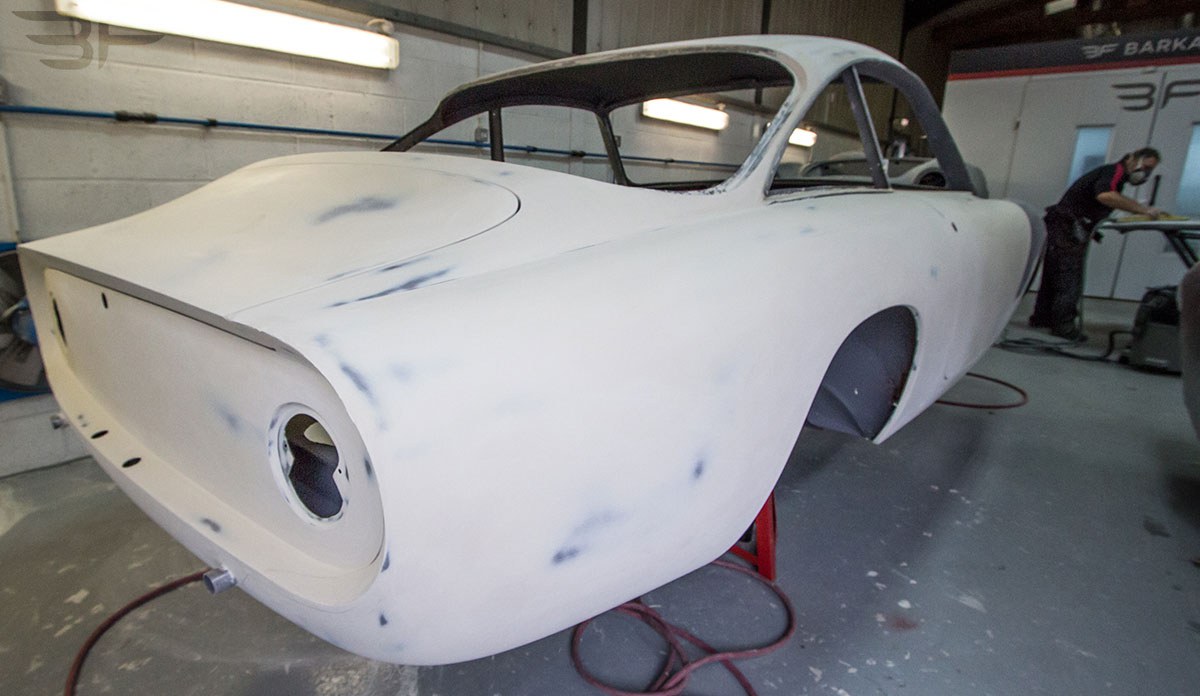
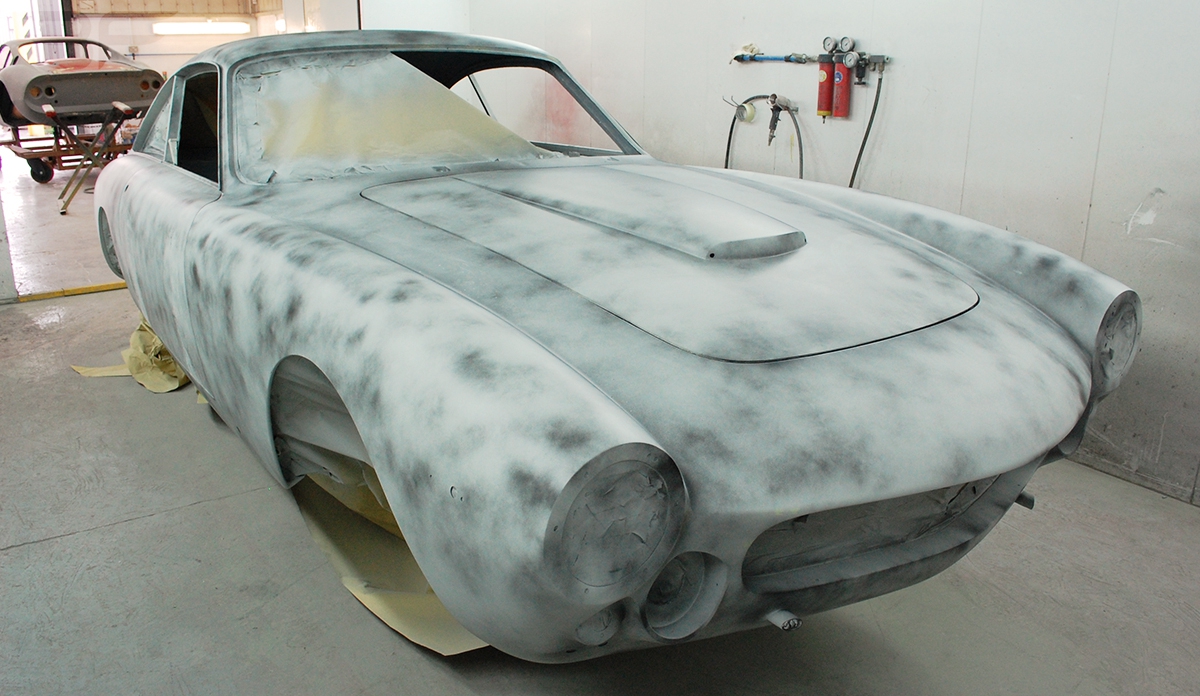
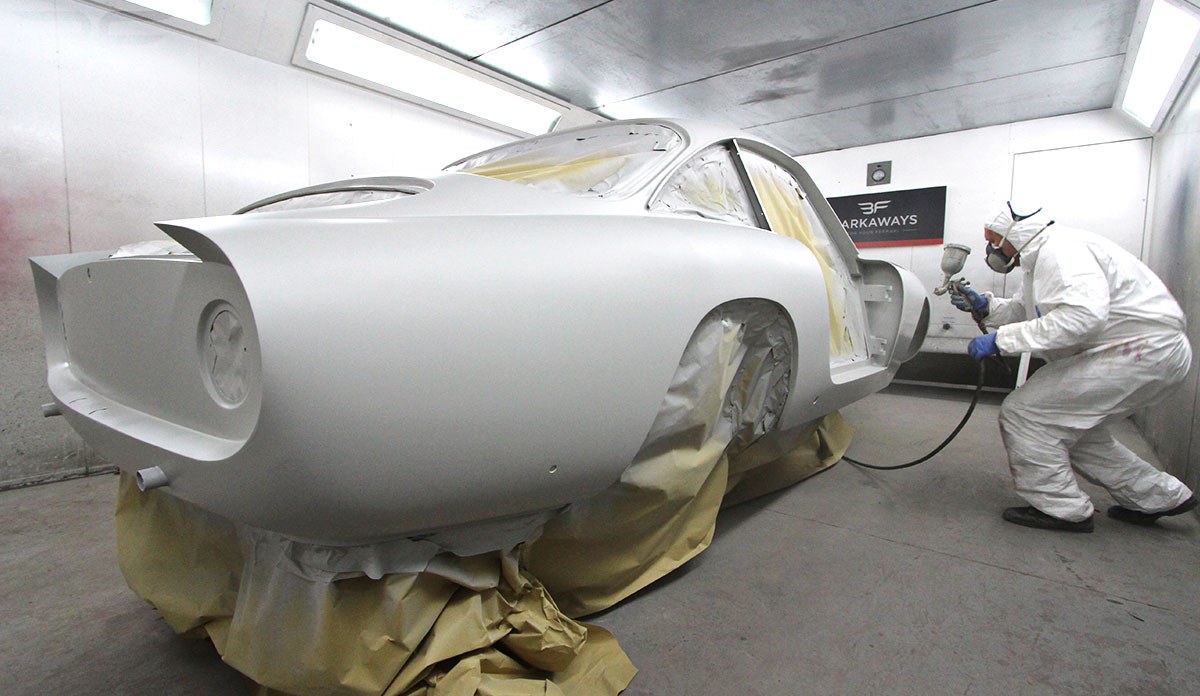
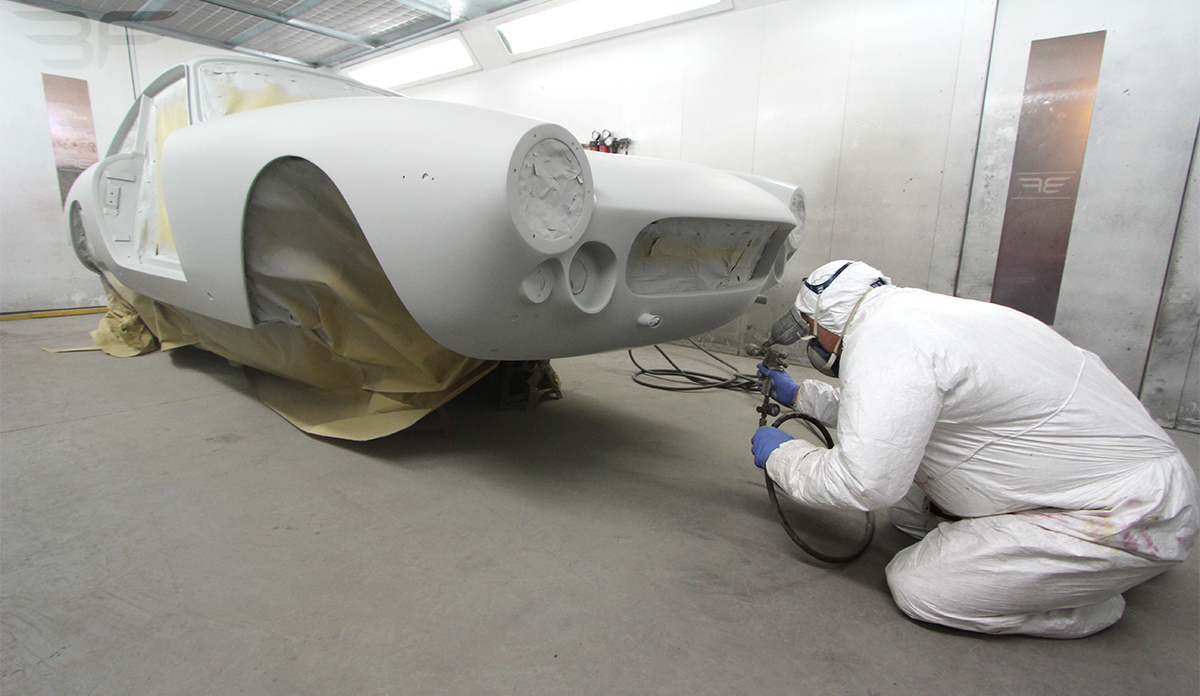
With levelling work and dry fit complete the vehicle body was flatted down, cleaned and primer applied. The next step was to flat down the primer coat with longboard and hand sand with extra fine paper. All door shuts and panel gapping were checked and adjustments made. With first coat of primer given time to settle and harden this was then hand flatted and body lines shaped before applying the second coat of primer and the same process followed. At this stage discussions were ongoing with customer as to a final colour choice.
OCTOBER 2014
The restoration project continued throughout October with work progressing on both the mechanical and bodywork elements.
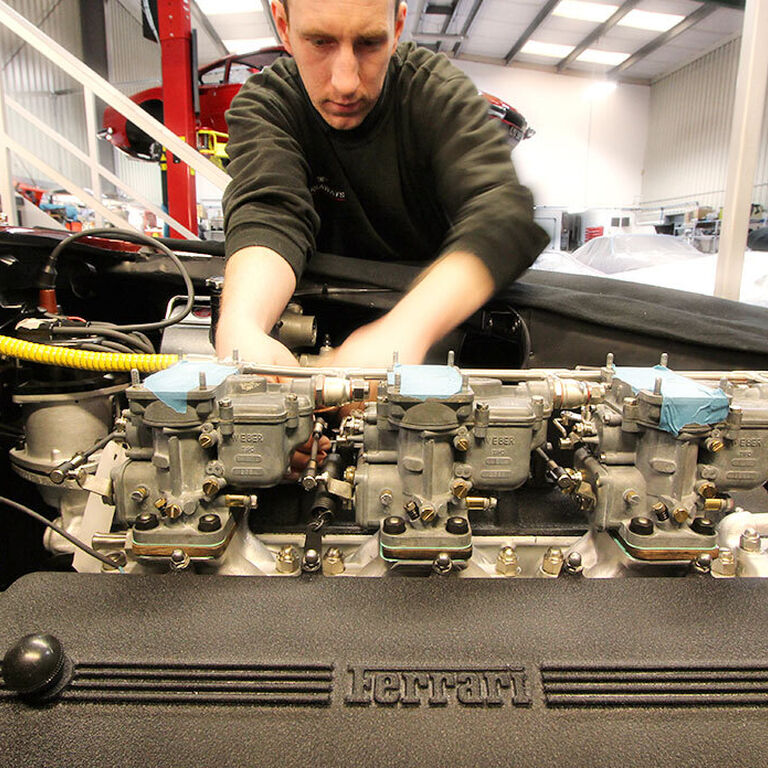
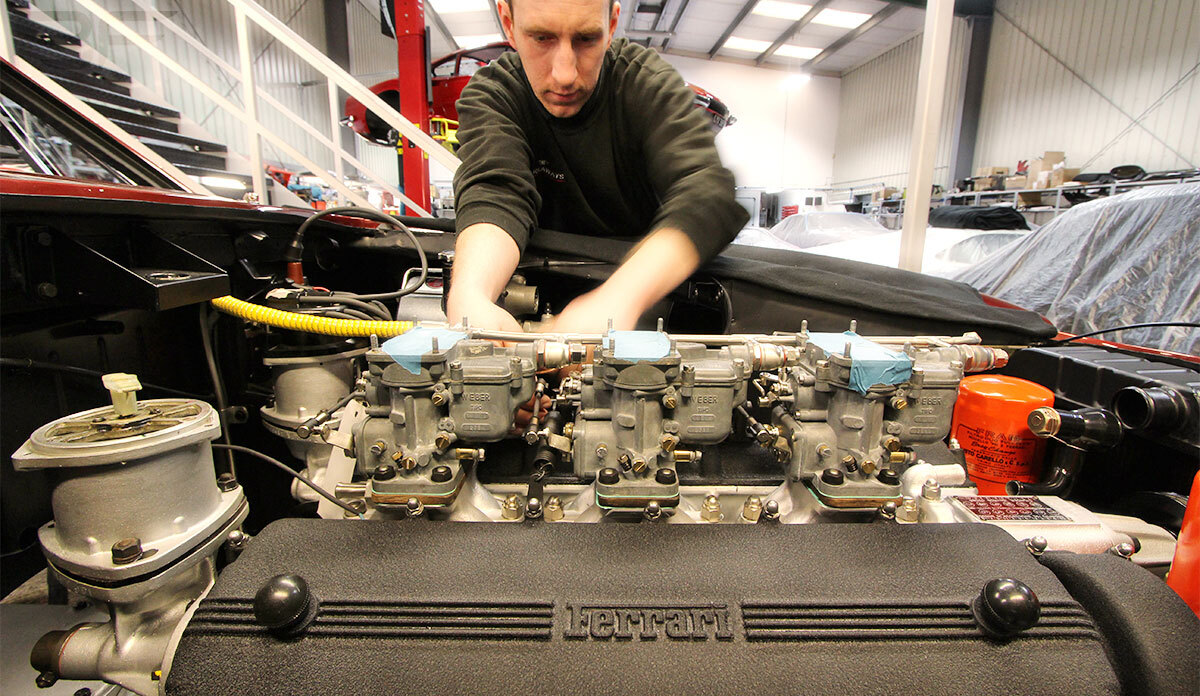
At this stage the engine was mounted onto its engine stand and extensively cleaned by hand. Carburettors were removed and throttle linkages stripped ready to be sent for plating. Inlet port faces were cleaned; cam and chain rocker covers removed. All exposed gasket faces were cleaned and prepped. Areas of the engine that required tidying were prepped and painted where required.
Gearbox bell housing was removed and steam cleaned to remove dirt and oil. Gasket faces were cleaned and components inspected new release bearing required. Bell housing was then cleaned, prepped and painted.
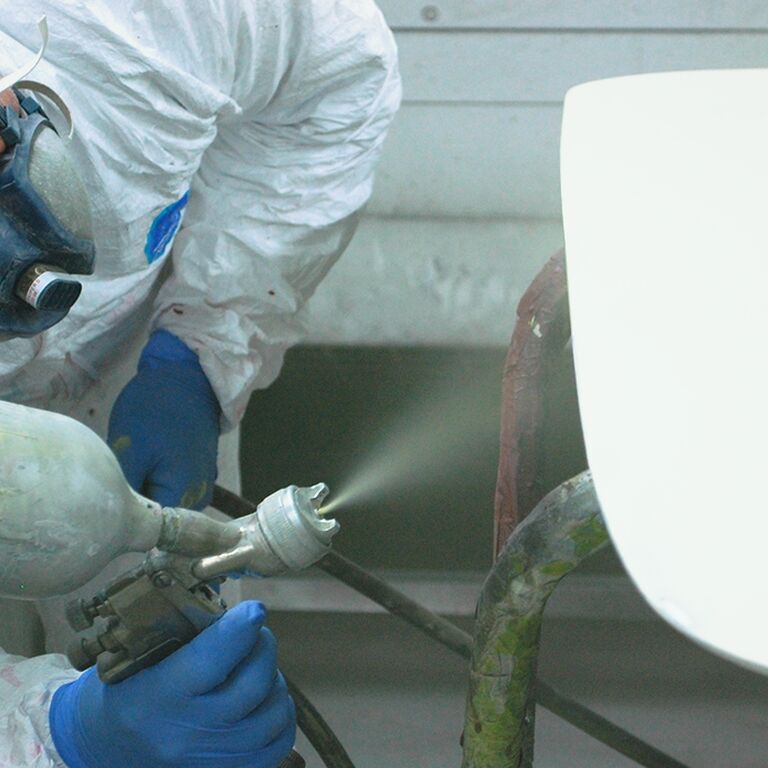
Following discussions with customer a decision was made in regards to final colour choice. Final flatting and reshaping of vehicle body shell was carried out and then all closing panels such as doors, bonnet and boot were removed. With final checks carried out the vehicle shell was painted
Whilst giving paint time to dry a start was made on final blocking down of the bonnet, boot lid and doors.
NOVEMBER 2014
With application of primer and paint completed on the vehicle shell and closing panels compound polishing was carried out before prepping all necessary areas required for application of stone chip and black paint.
Locks, catches were refitted and panels fitted to the vehicle. Hinges were cleaned and the doors aligned before being secured in place.
Components such as the cooling radiator, starter motor, alternator, fog lamp bowls, fuse box covers and various auxiliary items were prepped, primed and painted ready for refitting to the vehicle.
All valve tappet clearances were checked and where necessary adjustments made.
With camshaft and chain covers returned from specialist media blasting they were extensively cleaned, primed and painted in crackle black. These were refitted to the vehicle along with end caps, distributor housings and throttle linkage.
All wiring was cleaned and thoroughly inspected before being numbered for reference purposes. Any terminals, wires or sleeving that needed replacing throughout the loom was changed and new sections of wire made for the brake lights, starter motor, fuel pump and fuel tank sender unit amongst others. The fuse board was then fitted to the vehicle and the wiring loom passed through the bulkhead and fed into the engine bay.